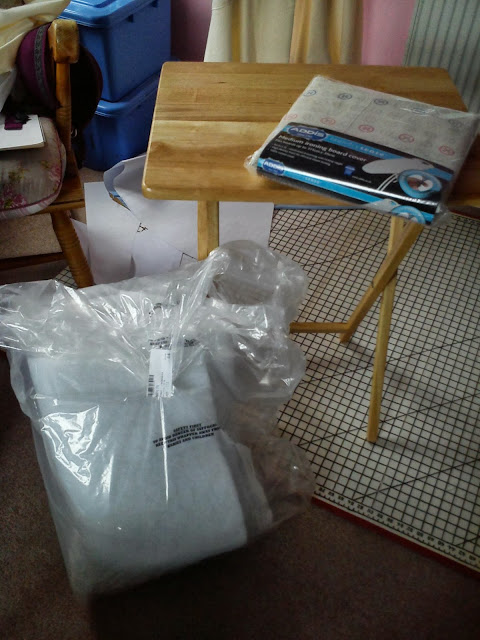
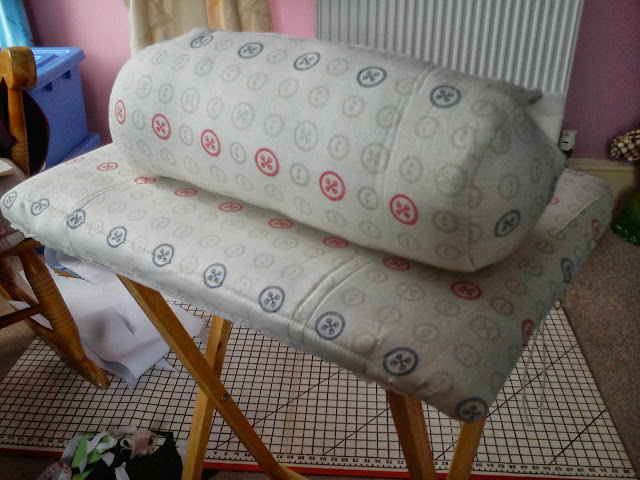
So I saw this picture somewhere, I think it was probably Pinterest, but to be honest I’m not really sure. No hang on just found it again, it was Pinterest, not sure whose idea it was originally though. But to get on with the point, it was a small folding table with an ironing board cover on it to keep near your sewing machine. Brilliant I thought just what I need, so this morning I set about converting a standard ironing board cover to fit a TV dinner table I picked up from a well known homeware store at a rather cheap price. I wanted to make sure I could still remove said cover though, as I had found the table just on its own a really useful extension to the sewing room, you can never have enough surface area if you work like me. (Still not doing very well at the finishing one project before starting the next.)

 I decided that I wanted more padding than supplied with the cover so cut a piece of wadding to the same size as the table and a piece of waste material an inch larger than that, to cover the wadding and stop it sticking to everything, if you have ever worked with wadding it’s a real pain. Next I cut the cover roughly in half, but definitely big enough for one half to cover the table, laid the wadding on the inside of the cover and sewed it all together.
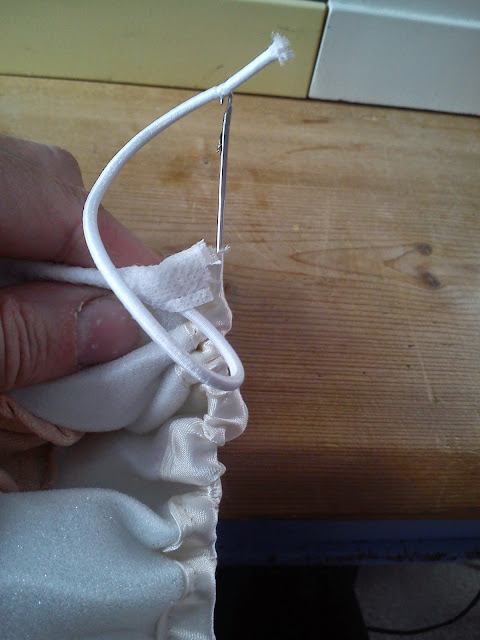
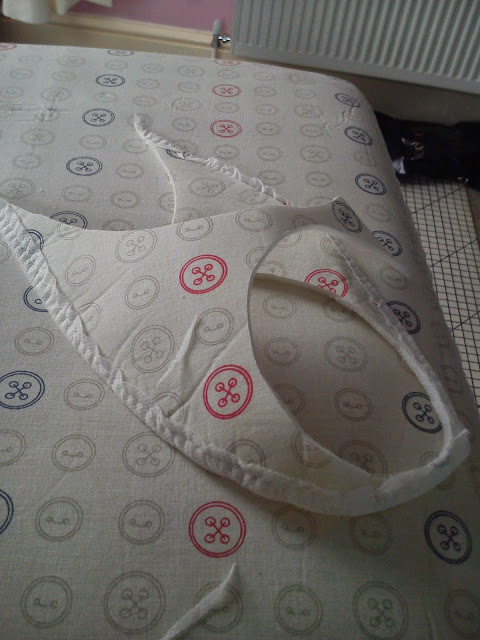
 Utilising the existing elastic and edging meant I only needed to fix a length of bias binding to the cut side, and I could then thread the elastic through that.
  This is a marvelous little tool for such jobs and turning all kinds of thing inside out, it’s long with a hook on one side, ingenious, hope you can see what I mean from the photos.
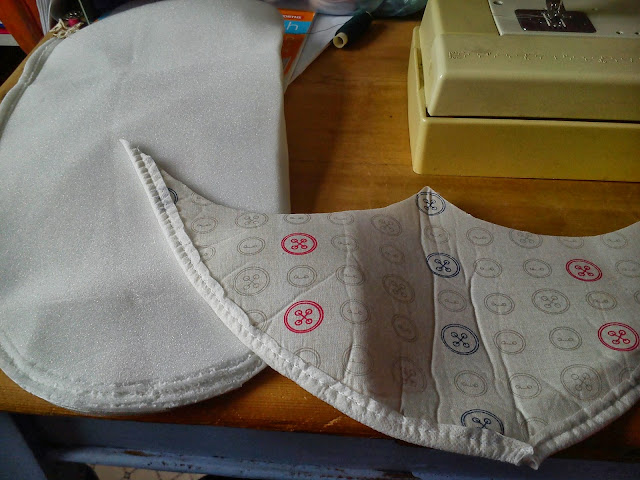

 I sewed the circle on the end and then turned right side out and stuffed like mad, you’d be surprised, I was, how much stuffing this thing took. In fact in the photo below I had run out of stuffing and so had not actually finished, but as soon as I’ve been shopping I will have a perfectly useable ham. In hindsight, a little smaller would have been fine and not used so much stuffing but hey ho. But there you go, not a bad afternoon’s work.
